If applicable, select a location from the Location
drop-down list located at the menu bar.
From the Manual Time Entry and Allocation screen, select an
organization from the Organization
drop-down list.
Select a labor group from the Group
drop-down list.
Enter a date into the Date
text box. Alternatively, select a date from a calendar. (see Date Format).
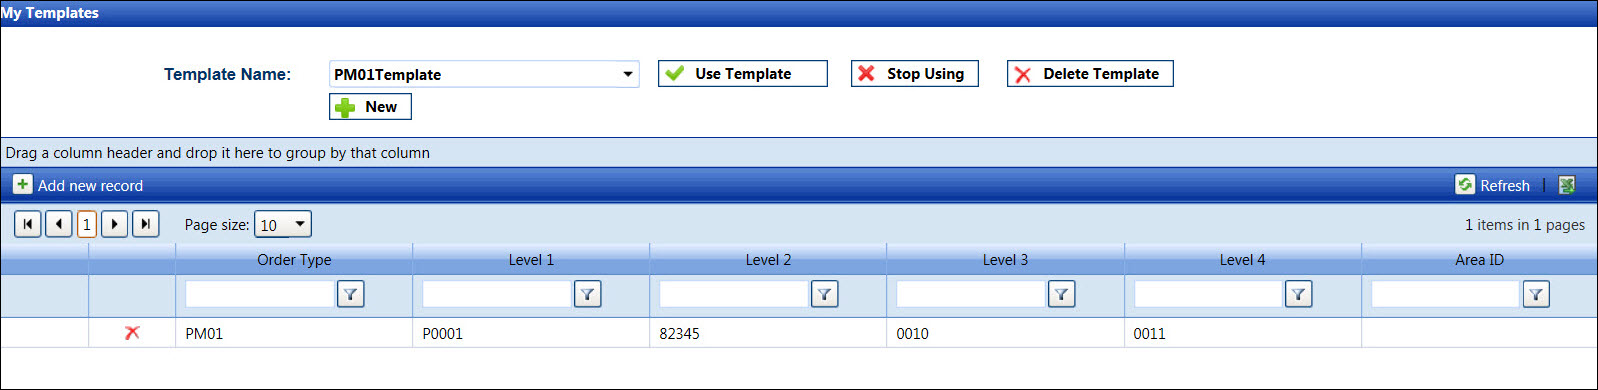
Click the Select Template
button to open My Templates screen.
From My Templates screen, select a template from the Template
Name drop-down list.
Click the Use Template
button to enable the selected template and return to the Manual Time
Entry and Allocation screen. The assigned template work order information
appears in the Order Type and Levels text boxes.
If the hours have been allocated, then the asterisks are displayed
next to the labor resources. Select a labor resource from the Resource list box.
From the grid, enter the hours into the appropriate text boxes.
Enter additional information into the Extra
text box and/or select a GL account from the GL
Account drop-down list, if applicable.
Click the Submit button
to allocate the hours.
Once the allocation is completed, ensure that the selected template
is turn off if no longer using.