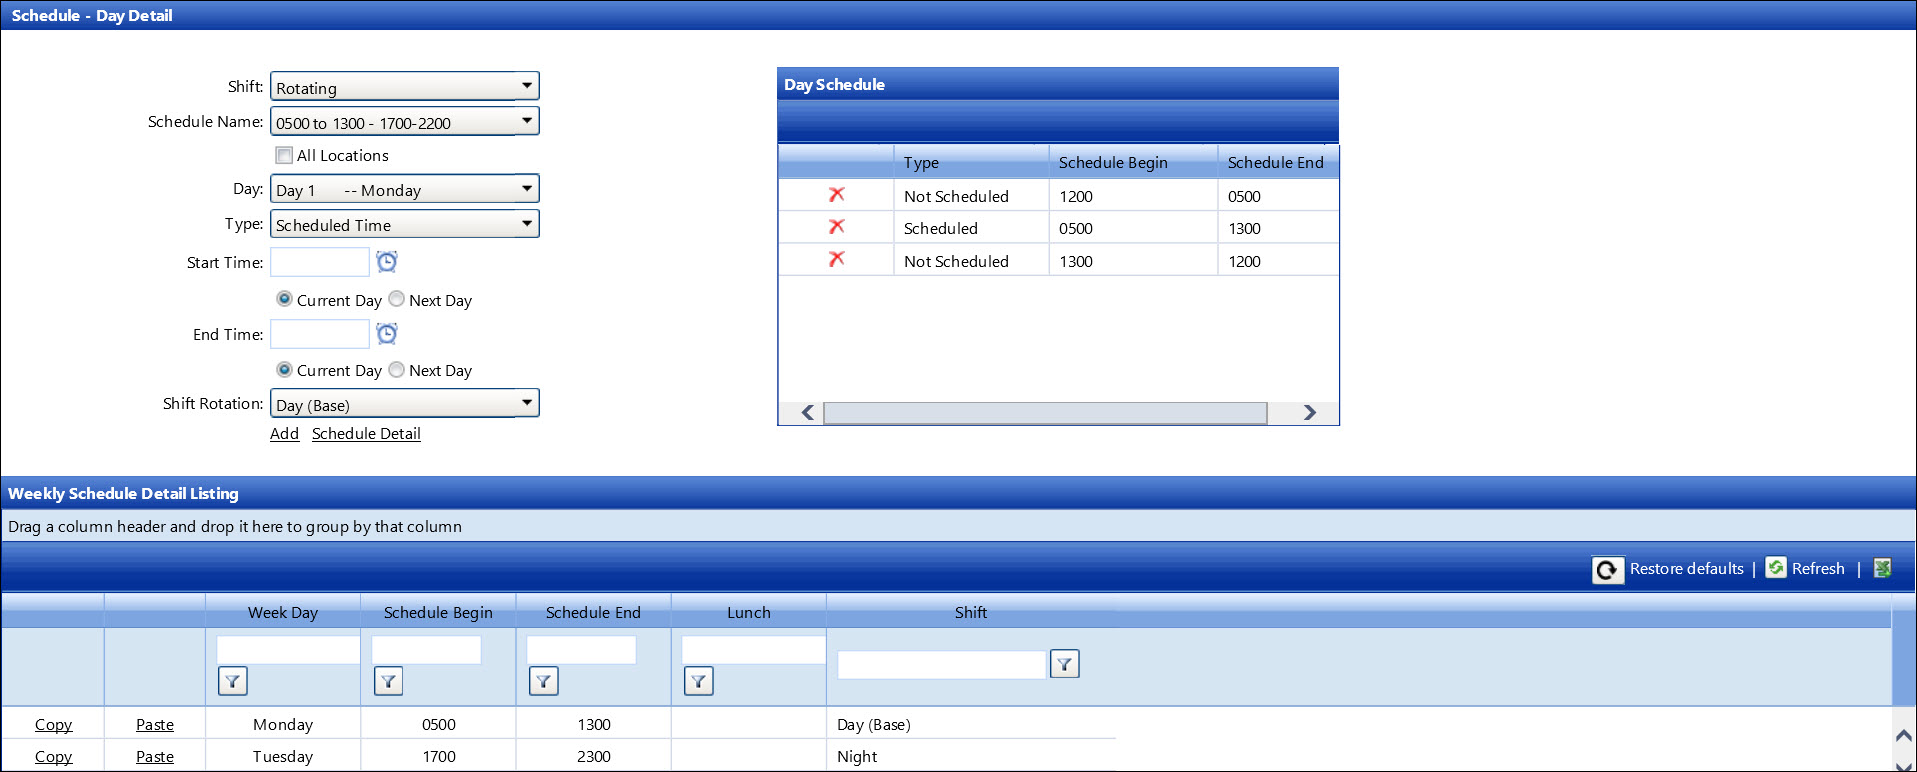
If applicable, select a location from the Location
drop-down list located at the menu bar.
From the Schedule - Day Detail screen:
Select a labor's shift from the Shift
drop-down list.
Select the Rotating
option for a rotating shift from the Shift
drop-down list.
Select the Equipment
option for an equipment's shift from the Shift
drop-down list.
Select a schedule from the Schedule
Name drop-down list.
Select a scheduled Day 1 of the selected schedule from the Day drop-down list.
Select a schedule type from the Type
drop-down list.
Enter the scheduled start and end time, using the 24-hour format,
into the Start Time and End Time text boxes. Alternatively,
click the Time icon  and select the scheduled start and end time. (see also Time Format)
The Current Day buttons
for the start and end times are selected by default. If the end time
crosses midnight, click the Next
Day button. Otherwise, proceed to the next step.
Select a shift rotation option from the Shift
Rotation drop-down list to indicate the shift for this particular
day.
Click Add to save and
display the shift, the scheduled day, the start and end times in the
Weekly Schedule Detail Listing.
