Hover a mouse pointer over the Schedule menu link on the menu bar to display its drop-down menu.
Slide a mouse pointer over to the Assignment option to display its menu.
Click Equipment Operator to
open the Equipment Operator screen.

All equipment assigned to an operator will automatically receive the appropriate IN/OUT activity and allocations based on the activity and allocations of the Labor Resource. The automatically generated activity and allocations will require the user to select the equipment on the Activity and the Allocations screens. At that point, the activity and/or the allocations will appear. No activity or allocation will be automatically generated without the user initiating it.
Hover a mouse pointer over the Schedule menu link on the menu bar to display its drop-down menu.
Slide a mouse pointer over to the Assignment option to display its menu.
Click Equipment Operator to
open the Equipment Operator screen.

Be sure to assign an operator after the pre-existed assignment date range.
If applicable, select a location from the Location drop-down list located at the menu bar.
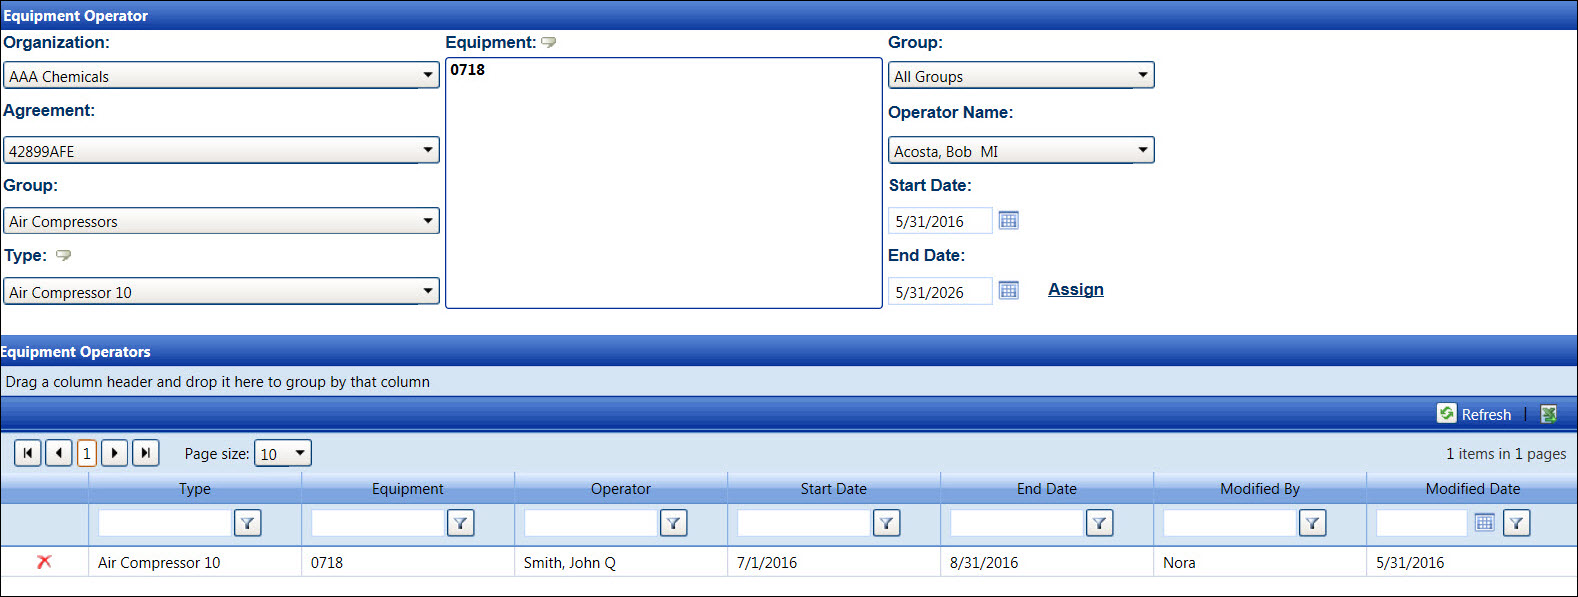
From the Equipment Operator screen, select an organization from the Organization drop-down list.
Select an agreement from the Agreement drop-down list.
Select an equipment type from the Type drop-down list to display its equipment in the Equipment list box.
Select an equipment from the Equipment list box, using the Control or Shift controls. (see also Control and Shift Keys)
Select a labor group from the Group drop-down list to display its labor resources in the Operator Name drop-down list.
Select a labor resource from the Operator Name drop-down list.
Enter the assigned start date into the Start Date text box, or select the date from the calendar. Leave the End Date set to default. As new schedules are assigned, the End Date(s) will adjust accordingly. (see also Date Format)
Click Assign to assign the selected equipment to the selected labor resource and display the record in the Equipment Operator grid.
From the Equipment Operator grid, click the Delete icon on a line item. The delete confirmation pop-up message appears.
Click OK to delete the selected equipment operator assignment.
Related Topics