Track application can manage sub-contractors, enable tracking of sub-contractor
labor, provide proof of sub-contractor hours worked, and upload related
bid documents. The cost of sub-contract labor should be limited by an
agreed markup rate.
The subcontract feature has many benefits.
Ensure the following information is available in the Track application
before proceeding to process the pre-approval request with the subcontract.
If the subcontract for the material is used, user must enter the pre-approval
numbers into the Pre-Approval Numbers text box on the Material Used screen.
When allocating the labor hours, enter the pre-approval number at the
Level 2 text box on the Allocate Labor screen.
Hover a mouse pointer over the Activity
menu link on the menu bar to display its menu.
Slide a mouse pointer over the Pre-Approvals
option to display its menu.
Click Pre-Approval Request
to open the Pre-Approval Request screen.
If applicable, select a location from the Location
drop-down list.
Select an organization from the Organization
drop-down list.
Select a module option from the Module
drop-down list.
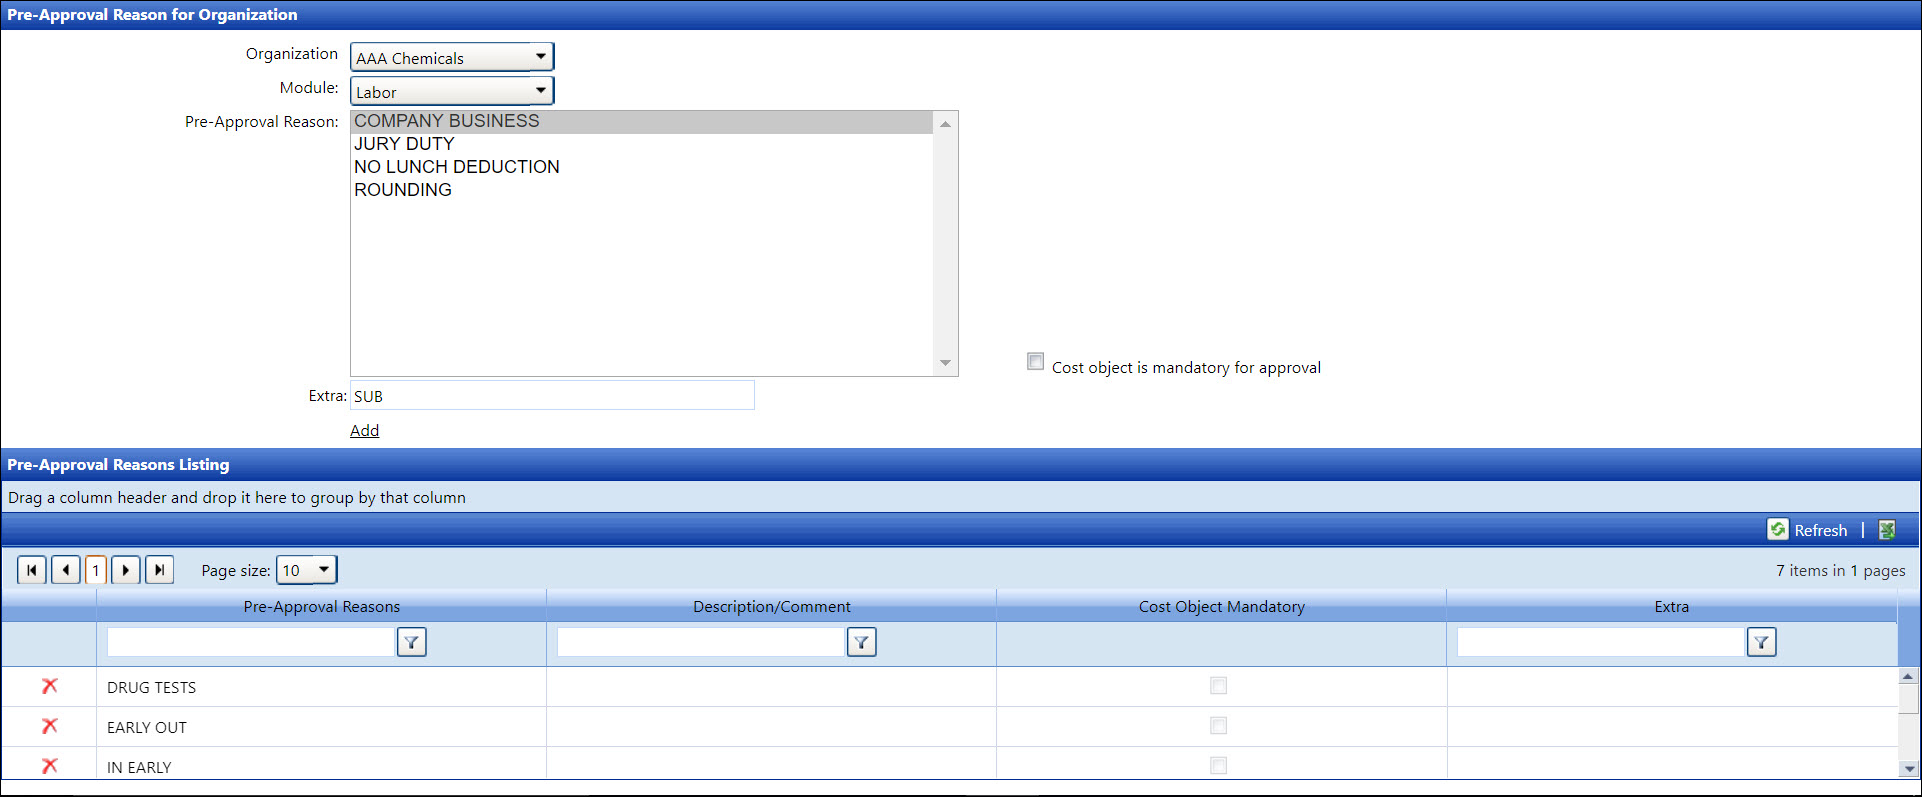
Select a pre-approval reason for the subcontract from the Reason drop-down list. Refer to
Pre-Approval
Reason for Organization for more information about the setup.
Select an approver from the Approver
drop-down list.
Enter the effective date or date range into the Effective
From and Effective To
text boxes, or select the dates from the calendars.
Enter a comment in the Comment
text box.
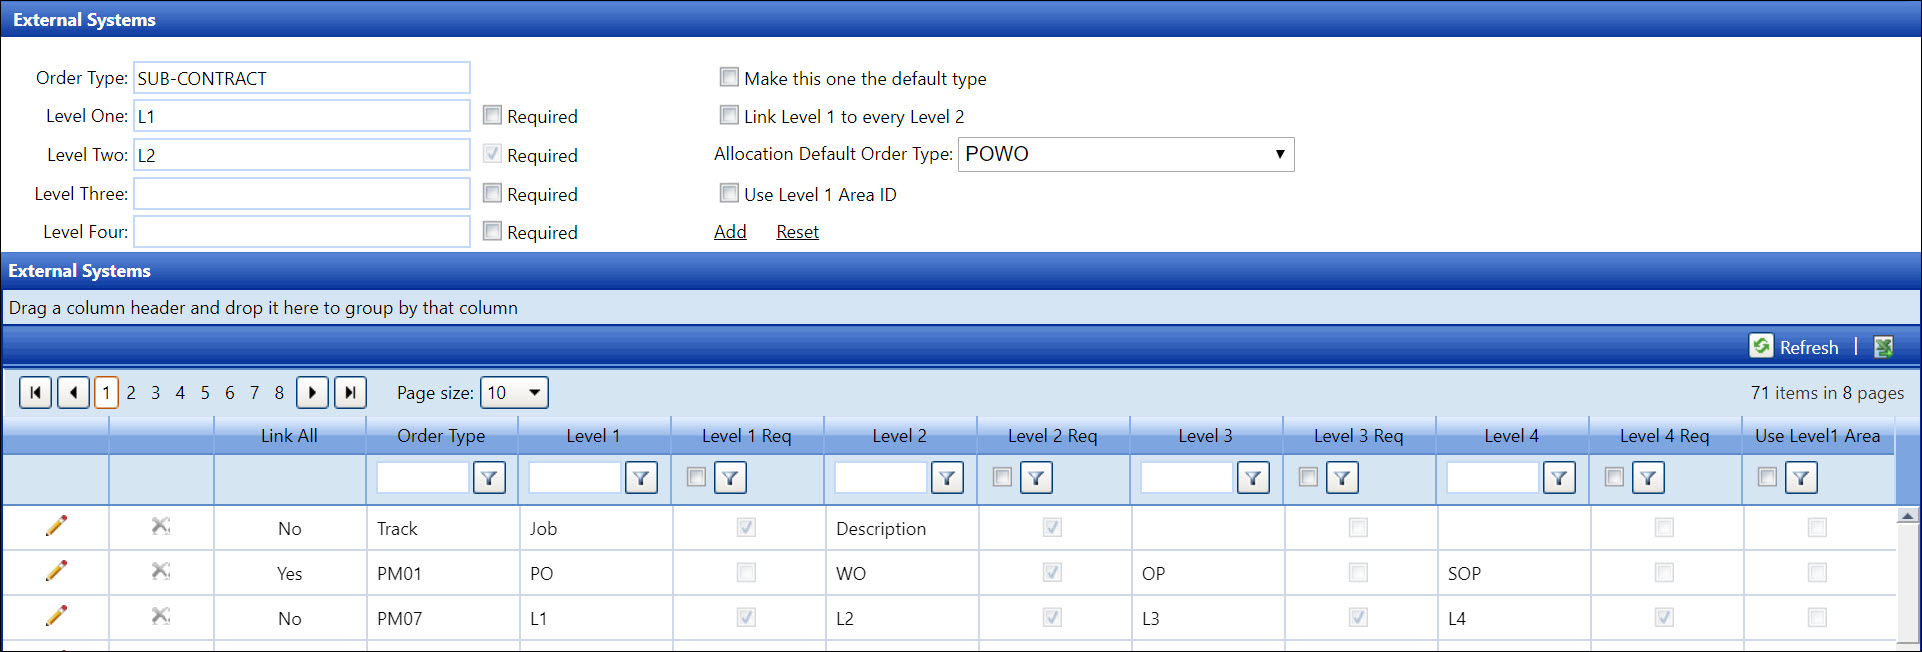
- Select the SUB-CONTRACT
option from the Order Type
drop-down list.
If the cost object is mandatory for approval, then select a
cost object from the Cost Object
drop-down list. Otherwise, proceed to the next step.
Enter a cost impact into the Cost
Impact text box.
Click the Submit Request
button to save and display the pre-approval request in the Pre-Approval
Requests Listing.
Attach a bid document by following the Submit
a new bid document instructions.
Approve or reject the pre-approval request for the subcontract
by following the Process
Pre-Approval Request instructions.
After the pre-approval request is approved, refer to the Assign
Pre-Approval Number to assign the pre-approval number to the subcontractor.


